A Beginners Guide to Mastering Audio
Updated April 8, 2022
Looking to try your hand at mastering? Check out our guide to the basics of mastering!
Mastering is the final step of the audio production process. It’s the work done following a completed mix where the finishing touches are placed on a track’s EQing, processing, and final level setting.
Different schools of thought might suggest that it’s best to hand over your track to a fresh set of ears and a fresh perspective (someone other than the mixer) for mastering, but if you’re on a budget, you can learn enough to master your own tracks with just what’s in this article!
It all begins with a mindset. What are you trying to accomplish musically on this track, along with the technical settings? Especially in the case of beginners, choosing the right reference tracks is key to setting good goals and ending up with the desired final product on your mastering.
Then the first step within the track itself is to listen through the track without changing any settings along the way. Note if there are any imperfections that need to be fixed in the mix. Listen on both headphones and studio monitors. Depending on the distribution plans for the track, you may even want to listen on a laptop, smartphone, and through a car’s speakers. Note if there are any sections that need to be volume adjusted to sound the way you want them to in relation to the other sections of the track, and make sure there’s no clipping, pops, hisses, or distorting that need to be touched up in the mix.
Next up are any adjustments to the tonal balance of the track. A good first step is finding a plugin that analyses the different frequency range levels for you to compare against professionally released tracks of the same genre. After getting your footing with a plug in, you may find that you prefer to rely more on your own ears for managing the idiosyncrasies of your track.
If you do find EQ adjustments that need to be made, use broad, minor adjustments with an EQing tool – nothing more than about 1db and nothing too targeted to take out a resonance or anything like that, which should have been done in the mixing process.
Additionally, a professional mastering job should utilize a hi-pass filter to take out the very lowest frequencies below the lowest bass note. Not only will this get rid of mud, but it will create more headroom by getting rid of that useless signal. Then you’ll usually want to fade the very beginning and end of the track so there’s no abruptness when the track comes on or ends.
Once that’s all done, you as the mastering engineer may decide to apply subtle creatieve effects as a sort of secret ingredient or finishing touch on the mix. This is completely optional, subjective to taste, should be done cautiously, and is by no means always necessary, but in some cases, a track may find its missing ingredient at this final stage after all other mixing has been done. A tube saturator or some compression may help level out a very dynamic track or warm it up a bit, just make sure the levels stay constant when applying additional effects.
Finally, use an application in your DAW to set the LUFS. Note, if you’re distributing to streaming services, they’ll typically lower the levels to -14 LUFS if it’s any higher. As such, pushing the track louder than that for the sake of loudness isn’t necessary.
Use a limiter to accomplish this, perhaps one made specifically for mastering. Inside your limiter, make sure the ceiling isn’t any higher than -1db, because artifacts and other issues can arise if it’s even -0.9db. Then lower the threshold until your mix hits around -14 LUFS. That’s it! Of course quiet parts will be quieter and louder parts will be louder than 14, but for the best results, most mastering engineers will shoot to put the average at about -14.
Export the audio at the required bit rate, and that will be your final product. Congrats – you’ve just mastered your track!
A gentle reminder – you might be experiencing listening fatigue after mixing your track when you go to master the track. If so, take some time away from the track before diving into mastering, make sure you’re in a creative mindset. Mastering is an incredibly important process in the production of a track. It’s not just a technical process but a creative and highly musical one as well.
Of course, there’s no one way to master a track. Some engineers like to work “backwards” through the mastering process, setting the level then applying effects and EQing. Another technique is to run through the subjective mastering steps very quickly, and repeat them as needed to avoid overthinking your choices. There’s a lot to work with when mastering, so try to keep it as simple as possible from the get go, and as you get more practice, you’ll develop your own tricks and techniques for your own sounds and styles.


YouTube Shorts monetization is now live. Here's what else is new in June.
June was a build-heavy month across our licensing, YouTube, and Collect businesses. We launched a major upgrade to our music-monitoring service, invested in faster and more accurate royalty processing, moved several enterprise integrations...[ READ MORE ]

The operational side of maximizing catalog revenue
One of the clearest indicators of long-term catalog health is whether there’s a real system of record behind it. By that we mean: a single place where the rest of the business can quickly confirm what a work is, who owns it, what iden...[ READ MORE ]

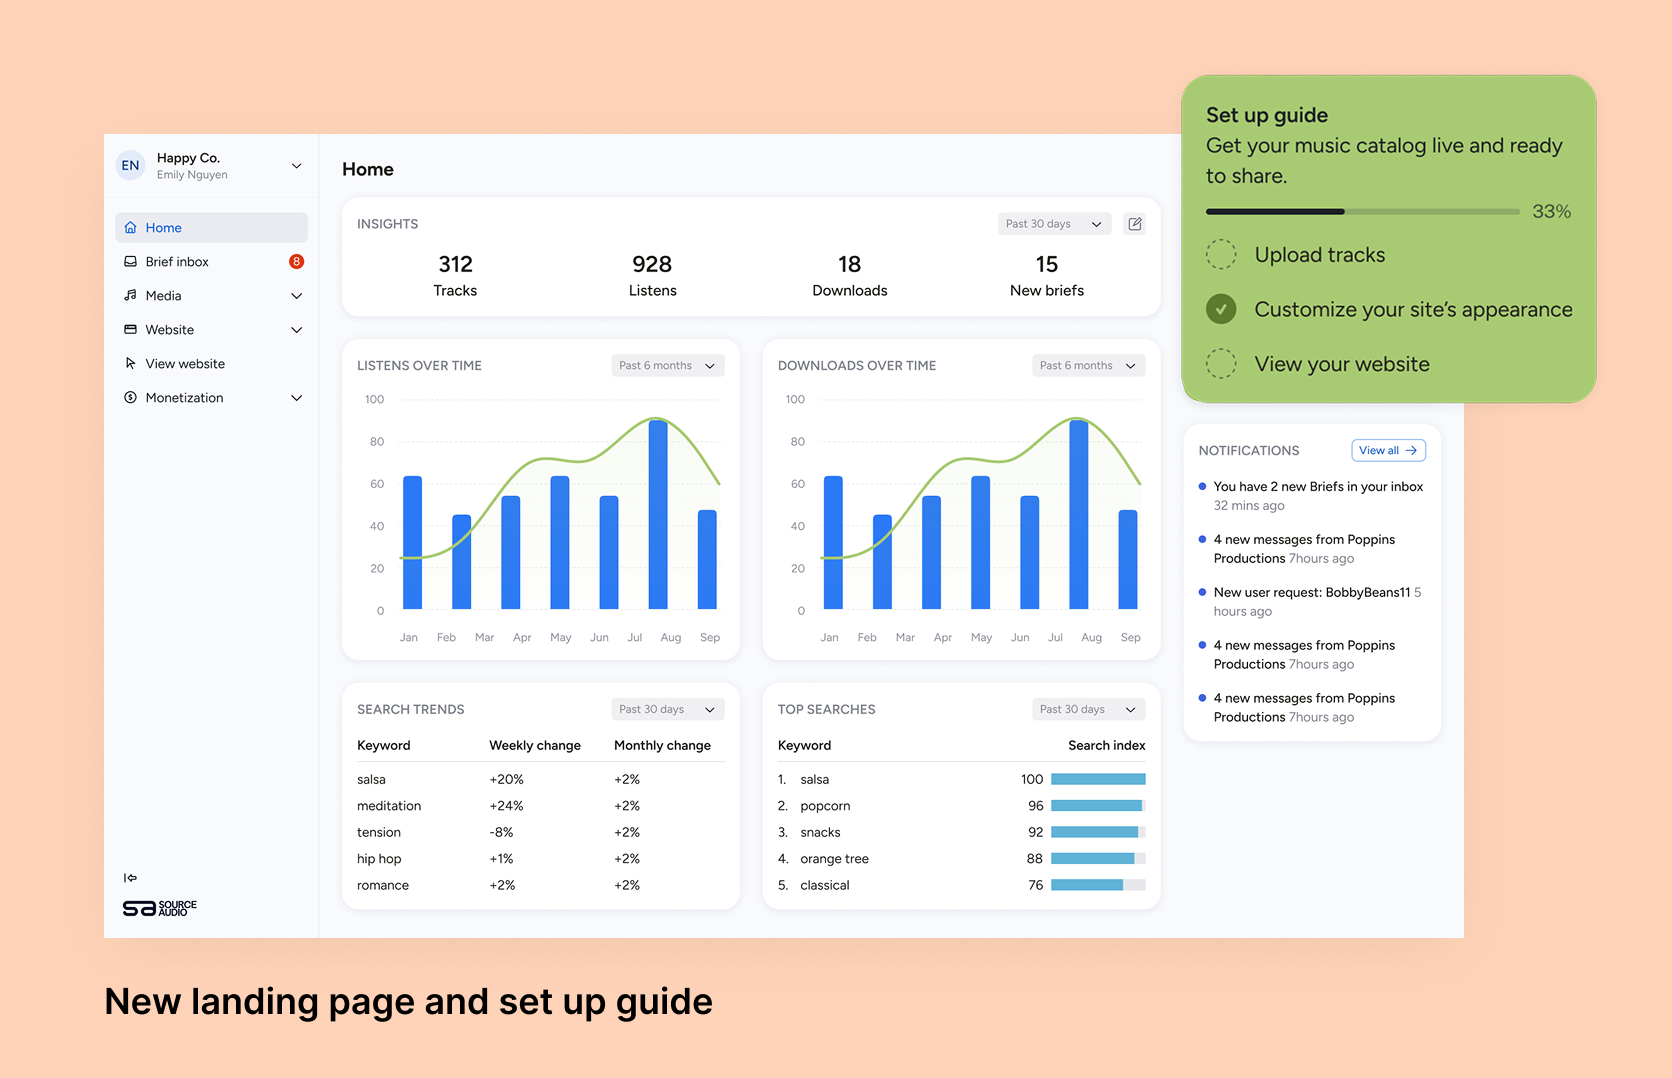
May at a Glance: A Product Update, the Brief Inbox, and a New AI Podcast
The Brief Inbox didn't slow down in May, and neither did we. Column customization shipped, and Drew made an appearance on Morning Brew's new AI podcast to talk music and AI. Drew on The Intelligence Shift Drew Silverstein, our Presid...[ READ MORE ]
Why Brands Are Moving Toward Aggregator-Driven Music Licensing
The way music gets licensed for advertising is changing at the infrastructure level. More brands and agencies are moving toward aggregator-driven ecosystems, where platforms like SourceAudio plug directly into proprietary music discover...[ READ MORE ]

April Recap: Luminate Summit, Blog Post, and What's Coming Through the Brief Inbox
Andrew Talks AI Training Data at Luminate Summit On April 15, SourceAudio CEO and co-founder Andrew Harding joined Doug Shapiro, Dave Davis, Dustin Blank, and Matthew Adell on "The AI Training Data Economy" panel at the Luminate Dat...[ READ MORE ]
Fixing Foundations: How I restructured SourceAudio to be more intuitive for admins, new and old
For over a decade, SourceAudio has been adding features, expanding its reach, and growing alongside the music licensing industry. While our toolset has proven valuable to our client base, it’s important to acknowledge weaknesses that hav...[ READ MORE ]

February Updates: Symphonic Partnership, Best Audio Brands & Product News
SourceAudio x Symphonic We're excited to announce a new partnership with Symphonic Distribution. Symphonic artists and labels can now opt into SourceAudio's AI music dataset licensing marketplace, opening up a new revenue stream ...[ READ MORE ]